 |
| The only materials you need! |
 |
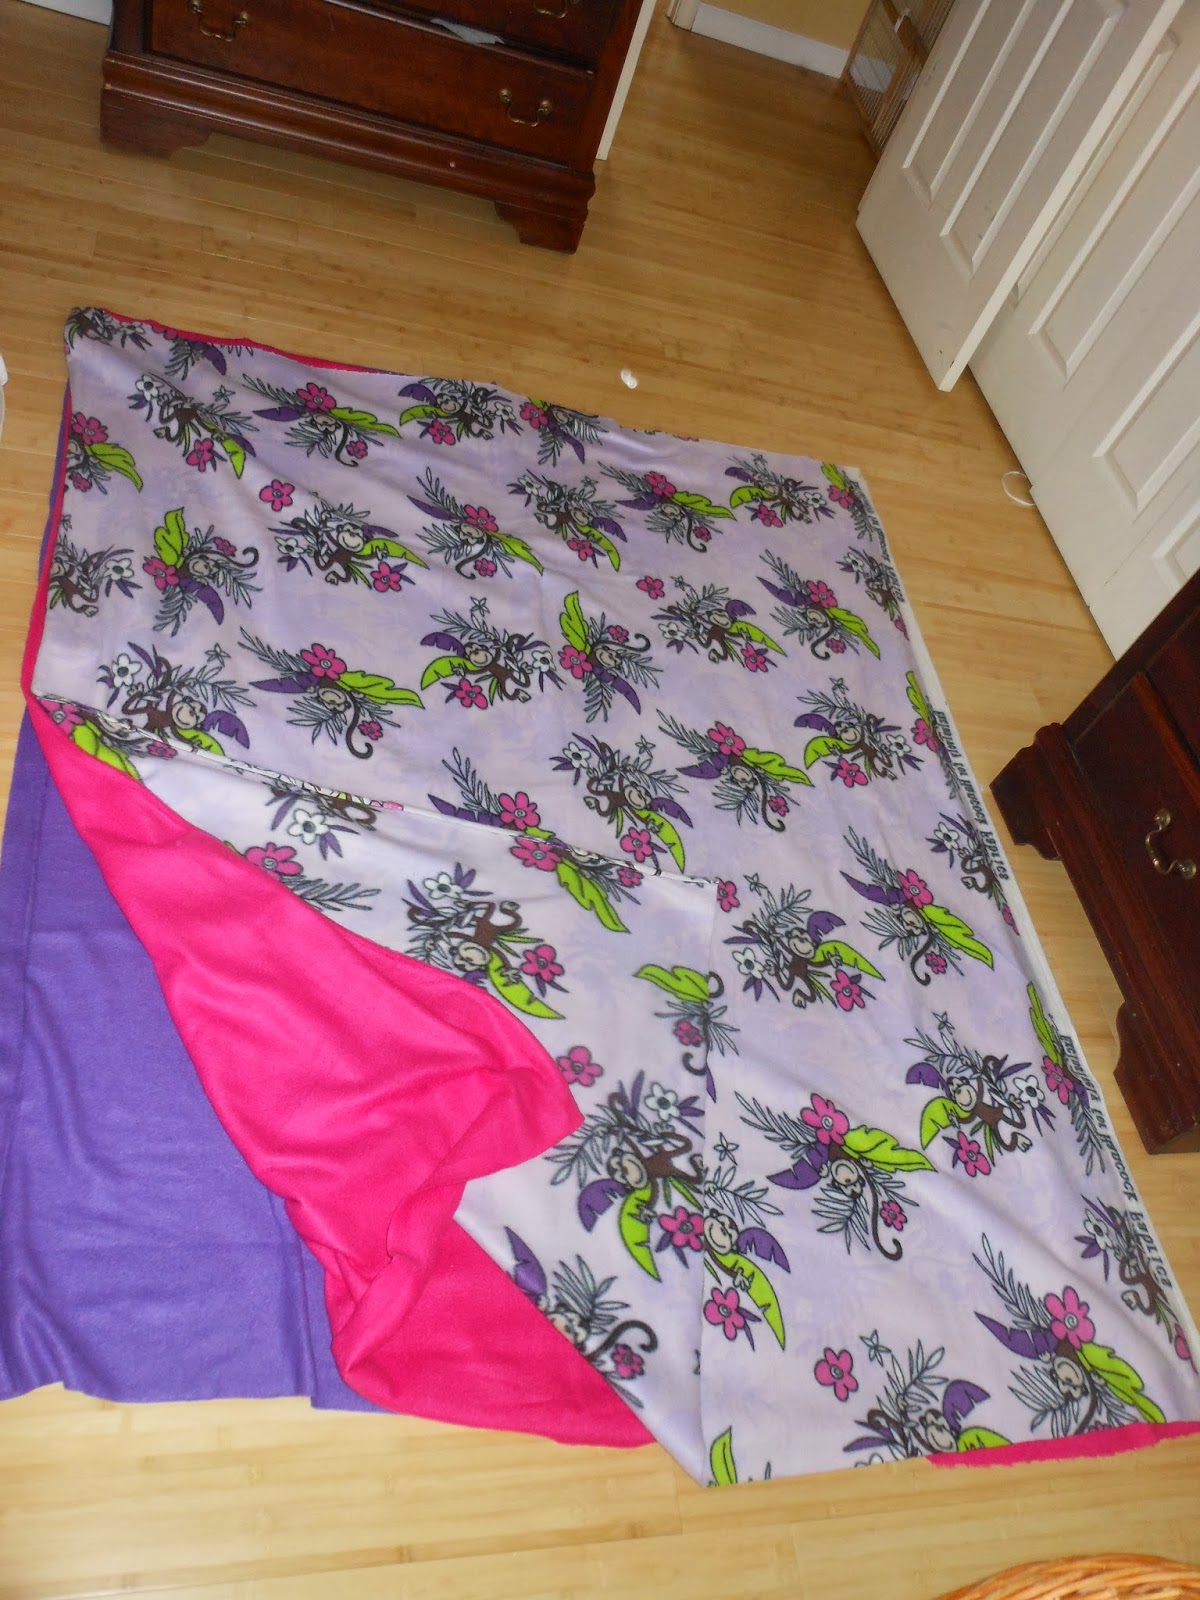
| Layering the pieces of material, I cut them down to size after layering and safety pinning together. |
This year my daughter begged for an American Girl doll for Christmas. I understand this desire wholeheartedly, as I made the same request of my mom when when I was my daughter's age- back when there were only the three original girls- Samantha, Molly, and Kirsten.
Oh boy, did I want one of them!
However they were over $100 and there was no way I was going to get one.
Well, they're still over $100. And my daughter isn't going to get one either.
It's not necessarily the price...it's that the price is for a DOLL. OMG. lol I'm not judging any of you that have broken down and purchased one, because I've found myself at the website thisclose to ordering one several times.
I just can't make myself do it.
So I recently found myself at Target buying an Our Generation doll. A quarter of the cost, same size, and just as cute. She'll survive- and absolutely adore the doll I'm sure.
Anyway, I really did have a point in all of that...
I've had my eye on a no-sew sleeping bag (stay with me here...) that I found on Pinterest a while ago. Adorable? Yes! However I put off making it because fleece can be crazy expensive (like $10-$15/yard!!) and I needed several yards of it. When I wandered into Hancock Fabrics for some safety pins for my daughter's Halloween costume a couple of months ago and saw that their fleece was on sale for around $4/yard I knew it was time to stock up.
 |
| Cutting squares out of the corners of material |
And here is where we come back to my daughter's knock-off American Girl doll :-)
In addition to a "real girl" size sleeping bag I made a matching one for her doll! They're for Christmas so I haven't seen her reaction yet, but I'm so excited about this. Way more excited than anything else under the tree that took absolutely no thought and effort to purchase.
I love how absolutely adorable these sleeping bags turned out, how simple they were to make, and the very small time investment.
 |
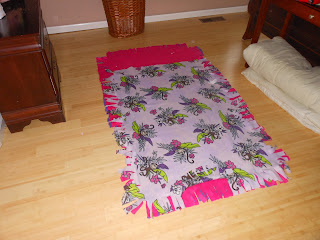
| Before tying nots, after cutting 1" strips around circumference of material pieces |
 |
| Both finished sleeping bags |
Personally, I started with two yards of three different colors/patterns of fleece. I safety pinned them together and then cut them down to size for my daughter's sleeping bag to start with. After finishing hers, I followed the same steps with the leftover material for the doll's sleeping bag. I haven't gotten around to it yet, but I'm planning on making small pillows for both doll and daughter and strips of material to hold the bags in place when rolled for storage with the remaining material. :-) Hey, I still have 9 days till Christmas, I'll get it done by then...
This is really an easy to make present even if you've never worked with fleece before. Once you start tying the sides, it's even the perfect mindless activity while watching TV. I'd definitely recommend trying it out!
Just to recap-
Directions for the girl-size sleeping bag
Directions for the doll-sized sleeping bag
Happy crafting!

Oh my gosh! I just came across this- these look amazing. Thank you so much for the shoutout, I am so happy you got some inspiration from my sleeping bags :)
ReplyDeleteThanks for the inspiration Kerry!
Delete